
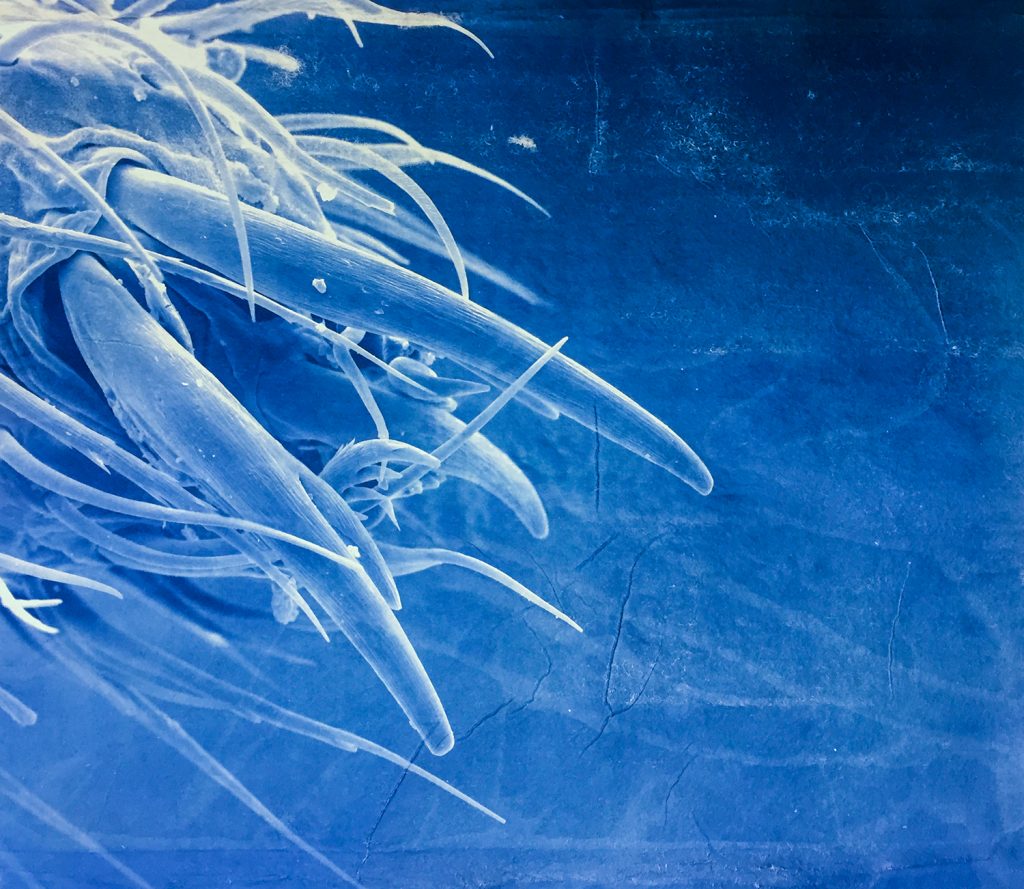
After years of wanting to take the Elementary Scanning Electron Microscopy course at UAF, I finally found the time in my schedule to register. Over the last month, I’ve learned how to control a $500,000 machine, coat new samples with Iridium by way of a sputter coater, and have taken a few shots that I am excited about. Over the next two and a half months, I hope to take the images I capture and create a series of albumen stereoscope cards.
As excited as I am to start on this project, there’s bound to be a lot of work behind the scenes to make it successful. Over the last couple months, I’ve felt like I’m stuck in a rut and have been anxious to get out of it — so tackling such a large project immediately sounded unwise. After being in a creative drought for so long, I needed something less focused on results to get me moving in the right direction. Project avoidance, although often written off as procrastination, can be explained rationally (at times): failures, setbacks and progress stalls often hurt worse after a long drought. So, I went searching for a low-impact creative solution — cyanotypes and washi — hoping that having a few successes behind me would make the big project easier to tackle.
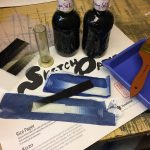
While visiting Seattle last fall, I picked up some cheap washi in hopes of using it in an upcoming project. Having never truly worked with washi, I didn’t want to spend real money on a quality product that was likely to sit in my darkroom for years – so I purchased the cheapest washi available in bulk. Similarly, rather than using a new (or more involved) alternative process to print with, I chose the process I’m most familiar with after Van Dyke Brown: the Cyanotype. With plenty of both solution and paper, I started playing.
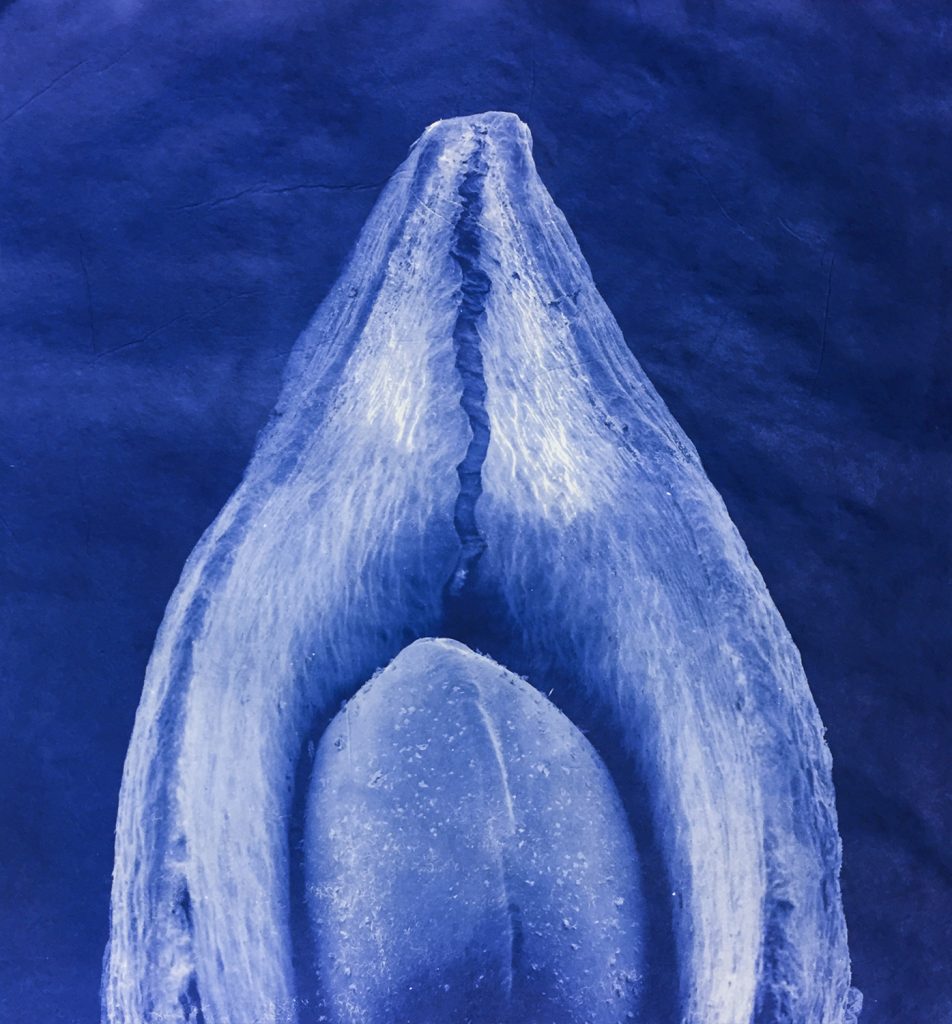
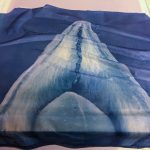
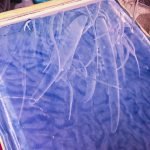
Without a doubt, the following results are preliminary. Choosing a cheaper and thinner washi certainly caused problems because it failed to hold together in even a short wash. However, I was able to establish a standard printing time, digital negative curve, and some decent progress toward good prints even with the paper as fragile as it was. Thanks to my wife’s suggestions, I started using her printmaking screens to wash prints, greatly reducing the possibility of print breakup. Overall, I feel confident in my first steps toward using washi and am certain that I want to continue printing with it. I hope to share additional results in the coming weeks, hopefully refining what I have here and adding some new imagery to the mix. Although I won’t use washi in my upcoming stereotype project, this little side project has made me confident the SEM imagery will work well in alternative processes.
Processing this particular washi on a screen will greatly reduce the problems you’re having with it; the alternative is to find washi that is a little thicker and/or uses gampi fiber or long kozo fiber. Basically, if it is long-fiber, you are likely to have fewer issues in wet handling and processing.