This spring semester, both my wife and I challenged each other to get back into the classroom. Both of our positions at UAF provide us tuition waivers and, for the most part, we haven’t taken advantage of them too many times over the past 15 years. We both chose courses that inspired our creative side to come out during this lengthy pandemic transitional period. Deanna chose to take a course on Ceramics and I decided to re-enroll in the Elementary Scanning Electron Microscopy course. It surprised me when I realized it had been four years since the last time I took this 1-credit course at UAF for fun, and I was eager to start up my home darkroom again by translating the work to alternative process.
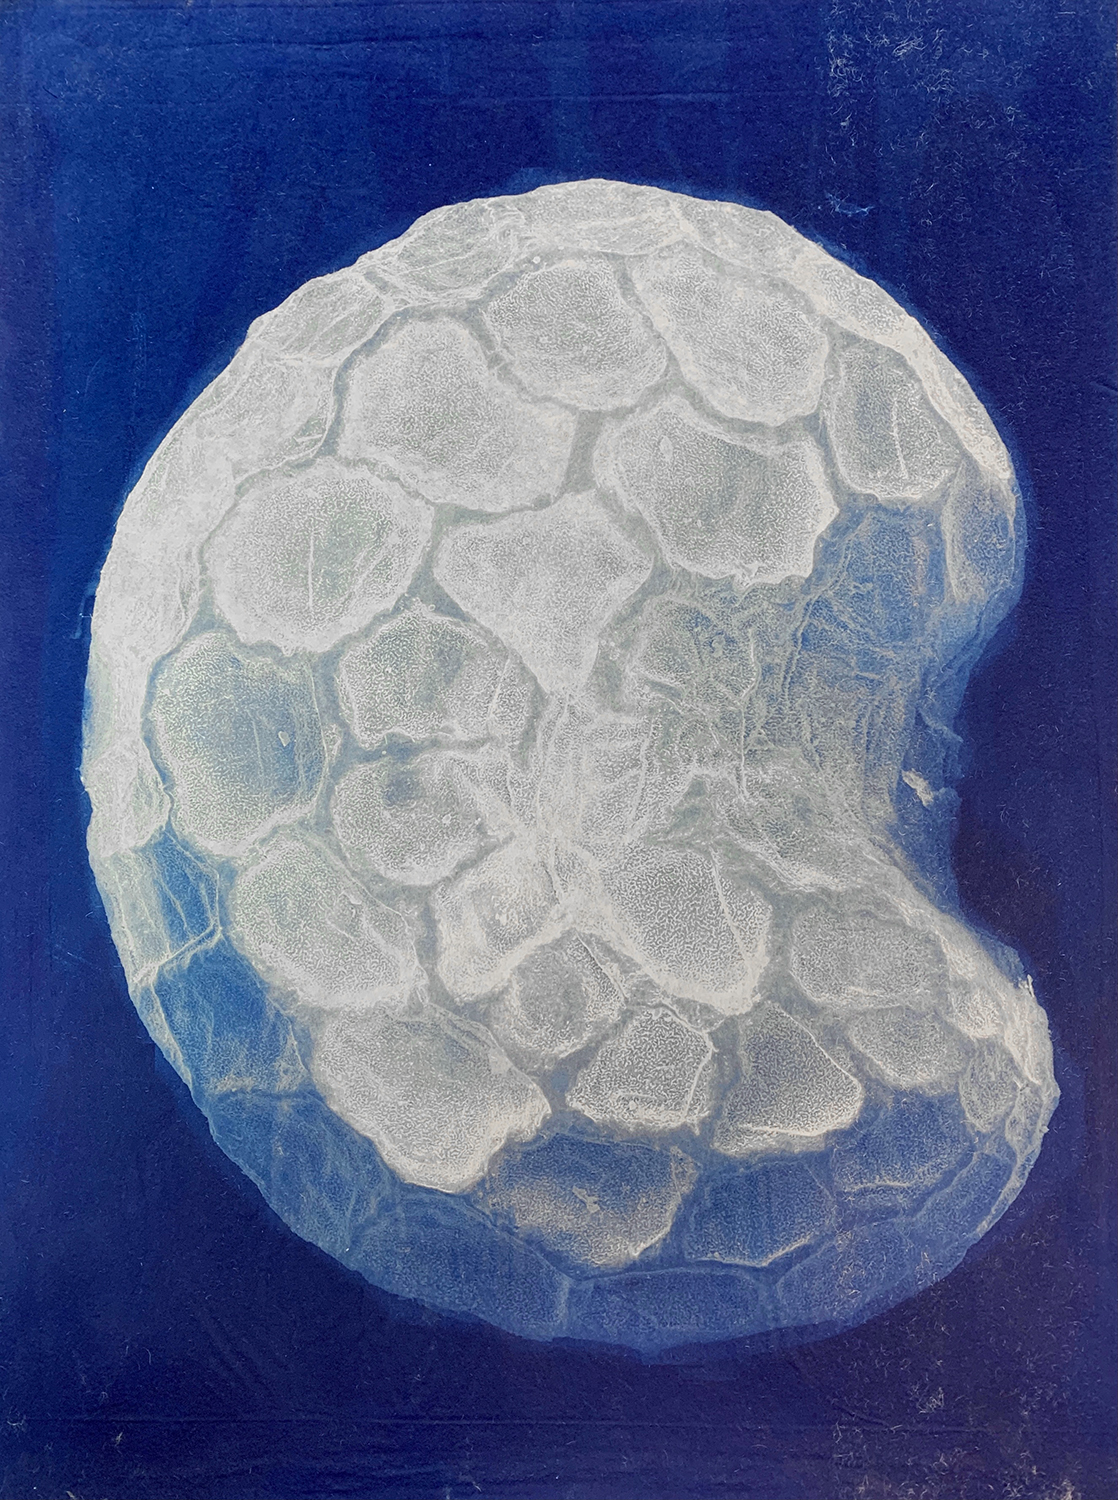
I wanted to expand my series of SEM studies of spices that I worked on back in 2017 and I spent much of the semester carving time out of my weekends to coat new samples, explore them both at low magnification “representative” captures and more abstract high mag shots. Little changed of the process of making the digital composites of scans from the last time, nor did the cyanotype process itself, but I’ll provide a couple notes and link the previous post I have on this process from four years ago:
Electrons & Cyanotypes – May 2017
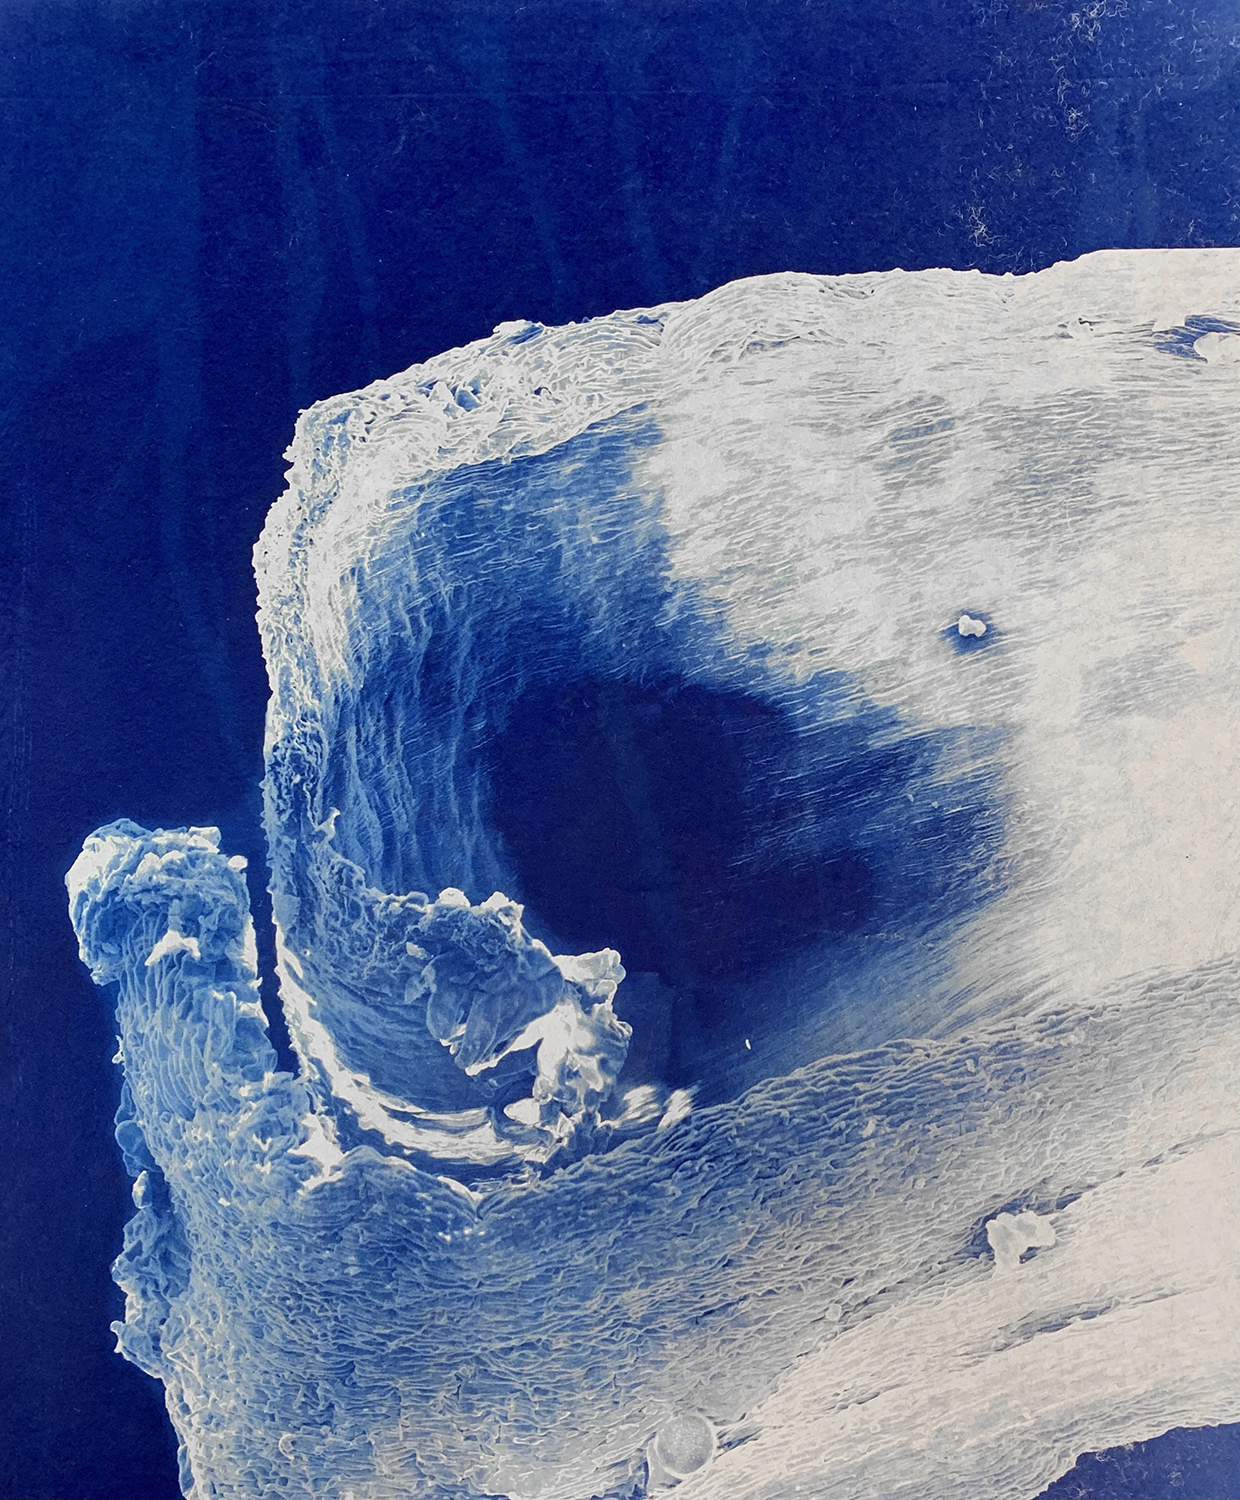
- I became even more ambitious with my composite scans than I was before. While my earlier images did need several scans to composite together a large-scale print, sometime during the last four years the machine’s software was upgraded and allowed for a 12-megapixel scan option. Those still weren’t high enough for me, so I often composited my images from anywhere from 6-12 individual scans, leading to 100-140 megapixel images in their native resolution. While the images of prints I’m sharing here feature images only 12×18 in size, my hope is to explore physically stitching several panels together and having wall-sized representations of some of these samples.
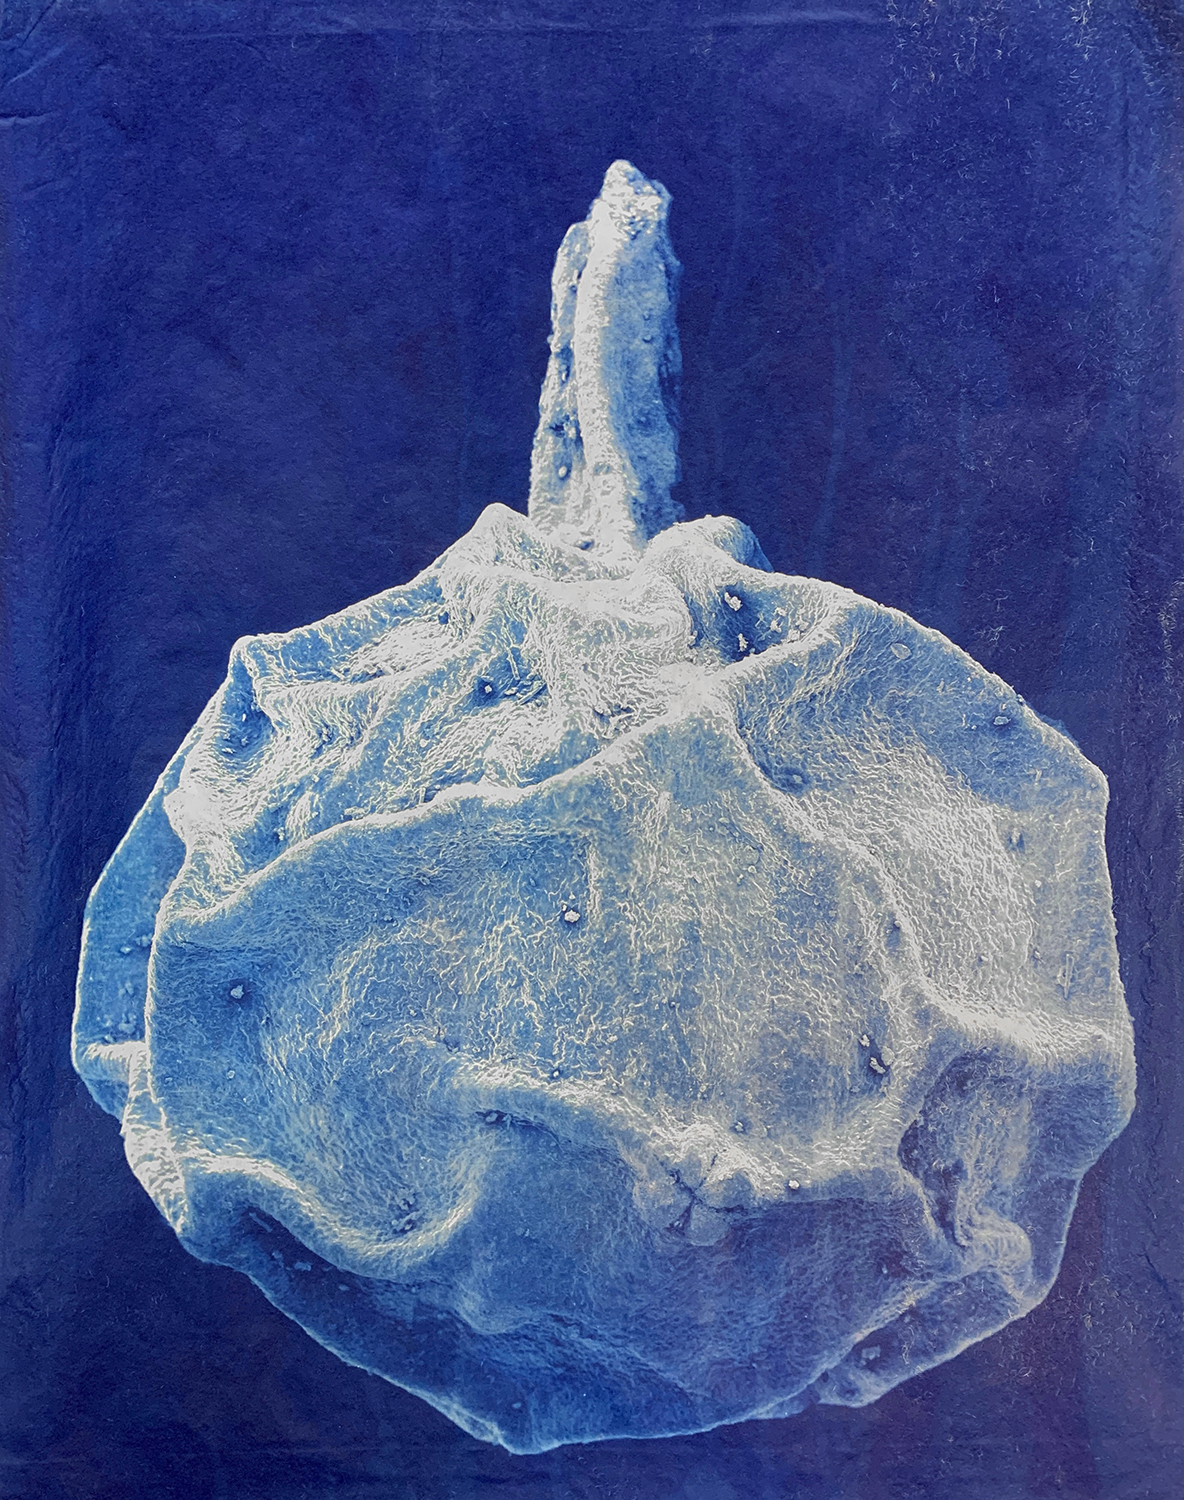
- I decided to alter my coating process for the Kozo, hoping to reduce the amount of surface tearing that I had previously from brushing it on. I now drizzle the Cyanotype solution onto the paper and use the saturated paper itself to coat the missed areas by lifting it up by the uncoated corners until the entire paper is super-saturated. I then drip dry it for 10-15 minutes until it’s regained some of its strength and then I train a fan on it to finish the job. Sure, I could have changed to a better quality Kozo, but this one being as cumbersome as it is actually allows the historical process to come forward and the imperfections create an interesting discussion between science, art, digital, and analog.
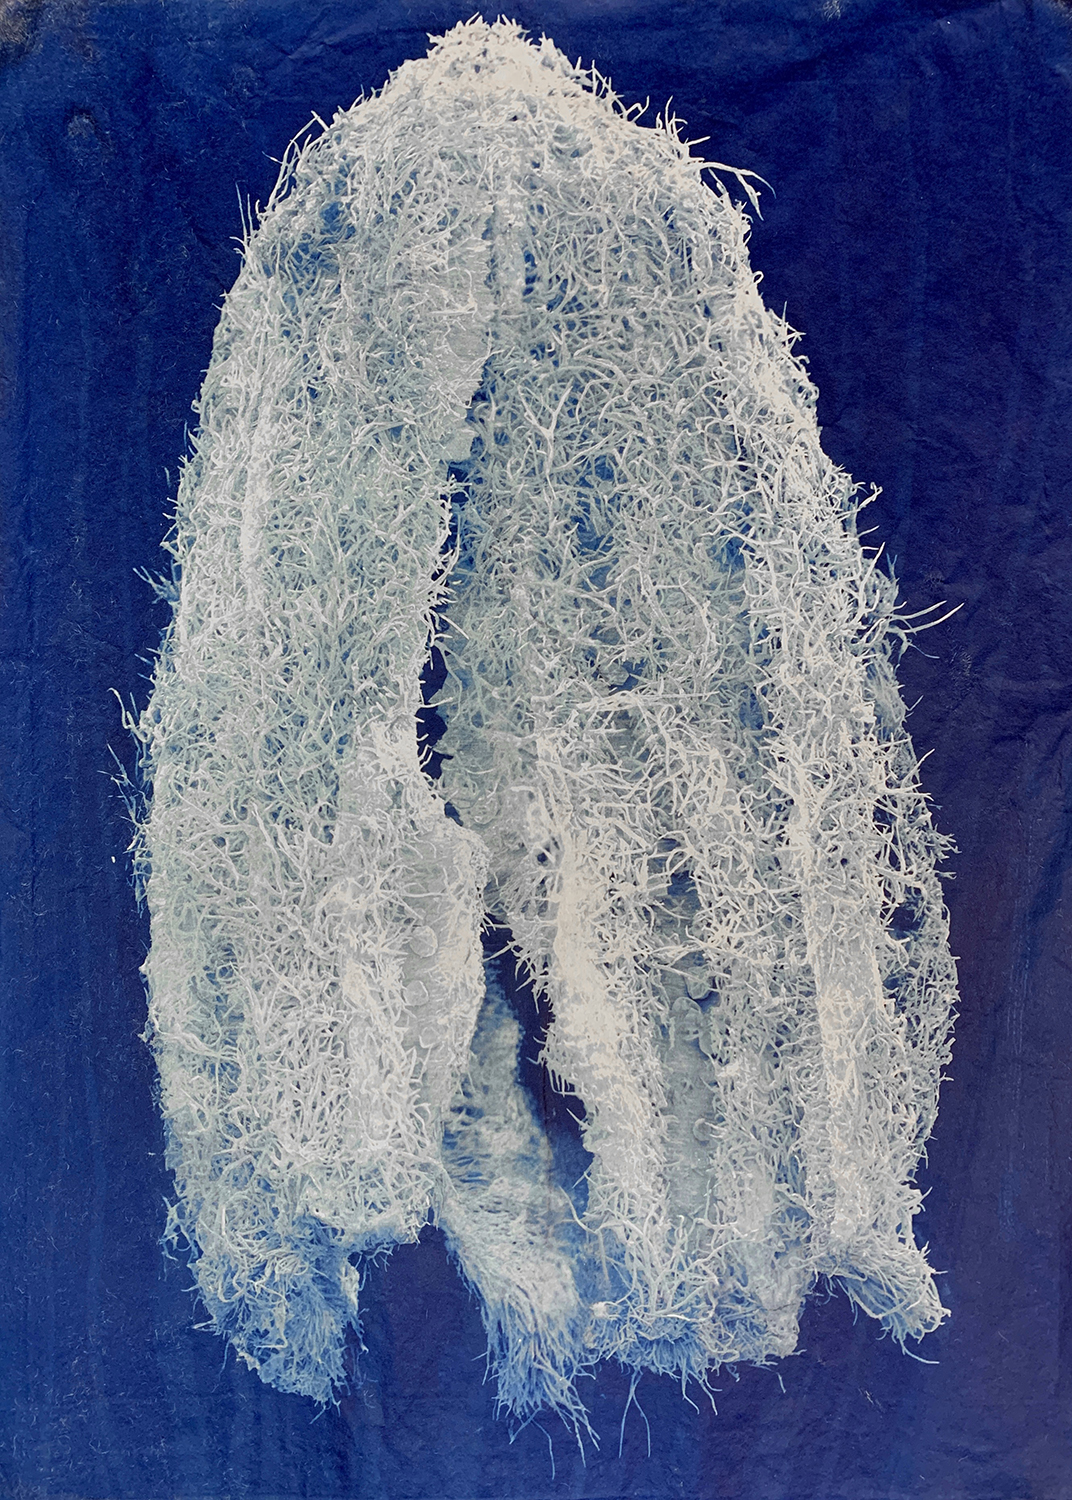
- While I tried a couple different methods to wash / process the Kozo, it really needed the backing of the screenprinting screen I used last time. The paper reacts too easily to water disturbances, so any rocking of the washing tray would cause the print to fold onto itself – and, boy, does this paper want to bunch up and make a mess of itself. What I didn’t like that I still need to work on resolving are the impressions left by the water streaming down the paper – I’d like for it to still be there, but perhaps not as pronounced as it is right now.
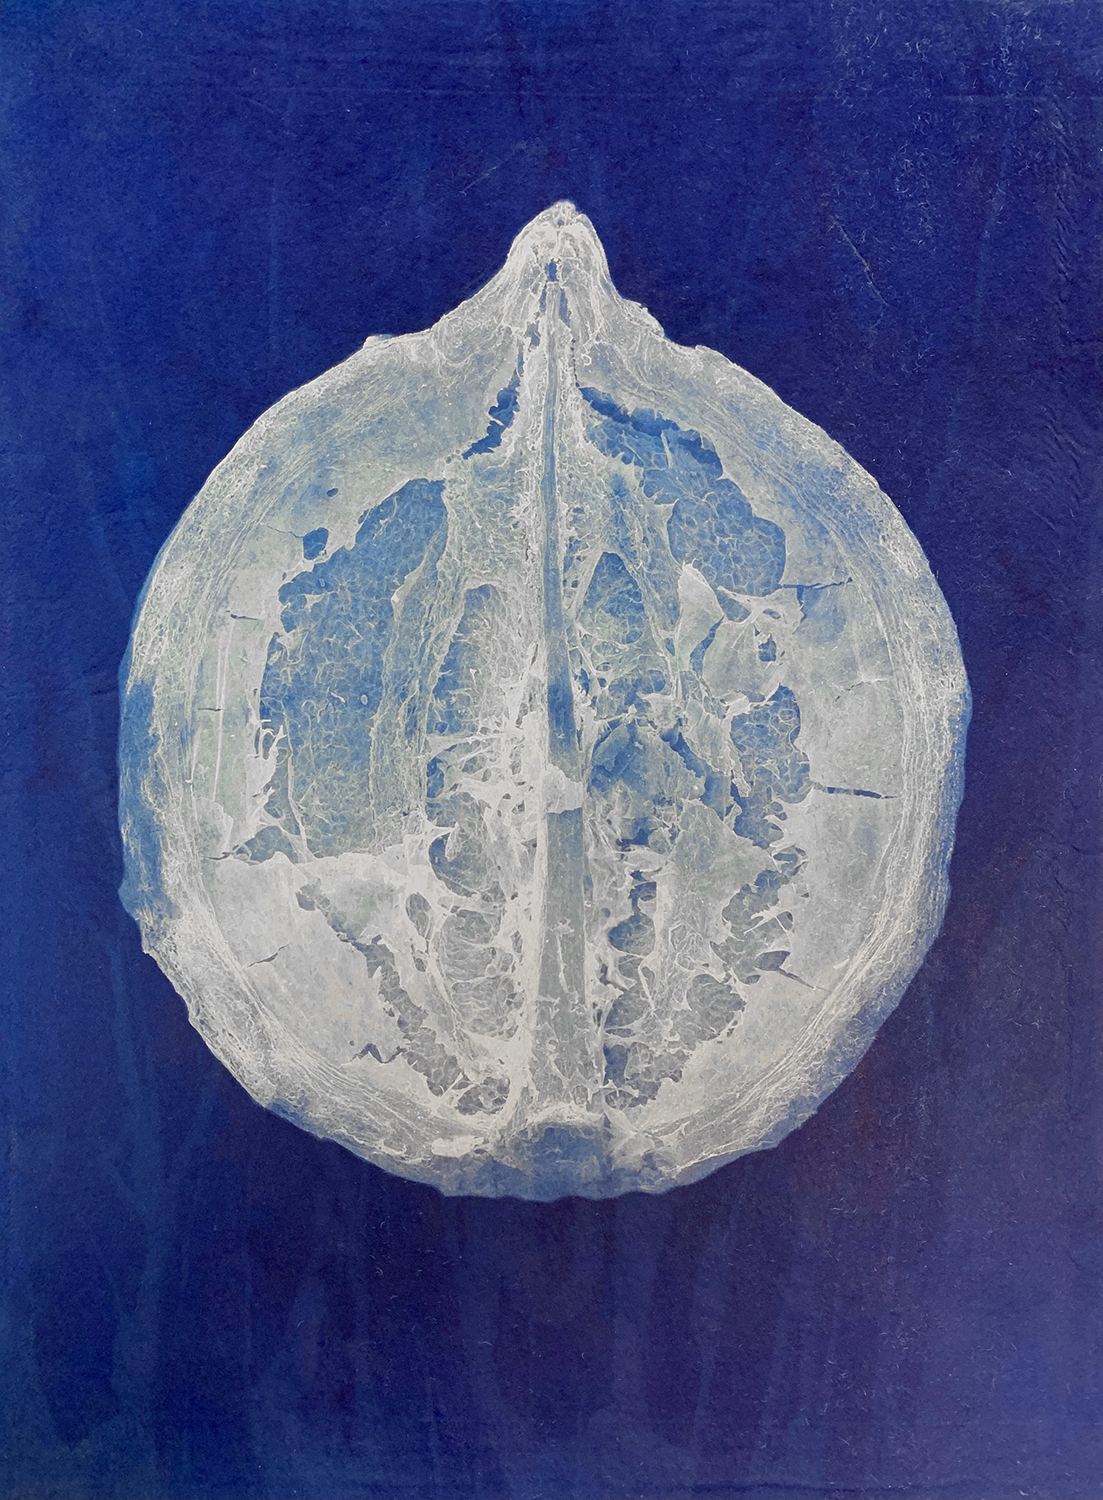
- I’d like to revisit my earlier images with this full-paper coating method, as I think it creates a nicer image. I’ve also realized that I really like these full sample “portraits” rather than the close-ups that abstract it too much. The act of magnifying them alone is enough abstraction, as evidenced by the above Lavender Bud.
+There are no comments
Add yours