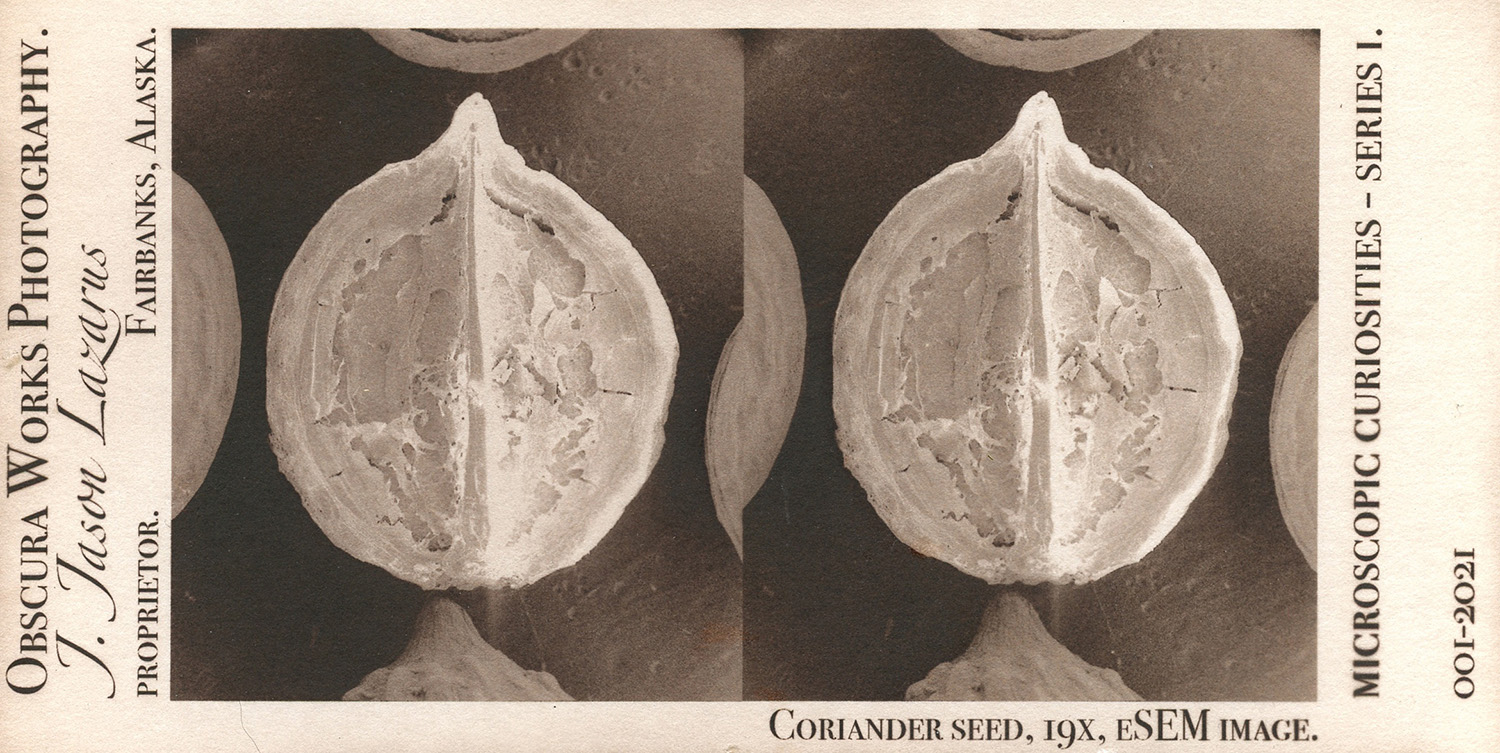
I closed out this semester’s final project in my Elementary Scanning Electron Microscopy course with not only a continuation of my Cyanotypes on Washi, but also with a set of proof-of-concept Stereographs printed in the Van Dyke Brown process. True to form, I did much more work than was expected for this 1-credit SEM course and ended up easily going over the timed limit for my presentation by 50%. That said, I think I definitely made up for some lackluster effort last go-around while also finding another potential future project along the way.
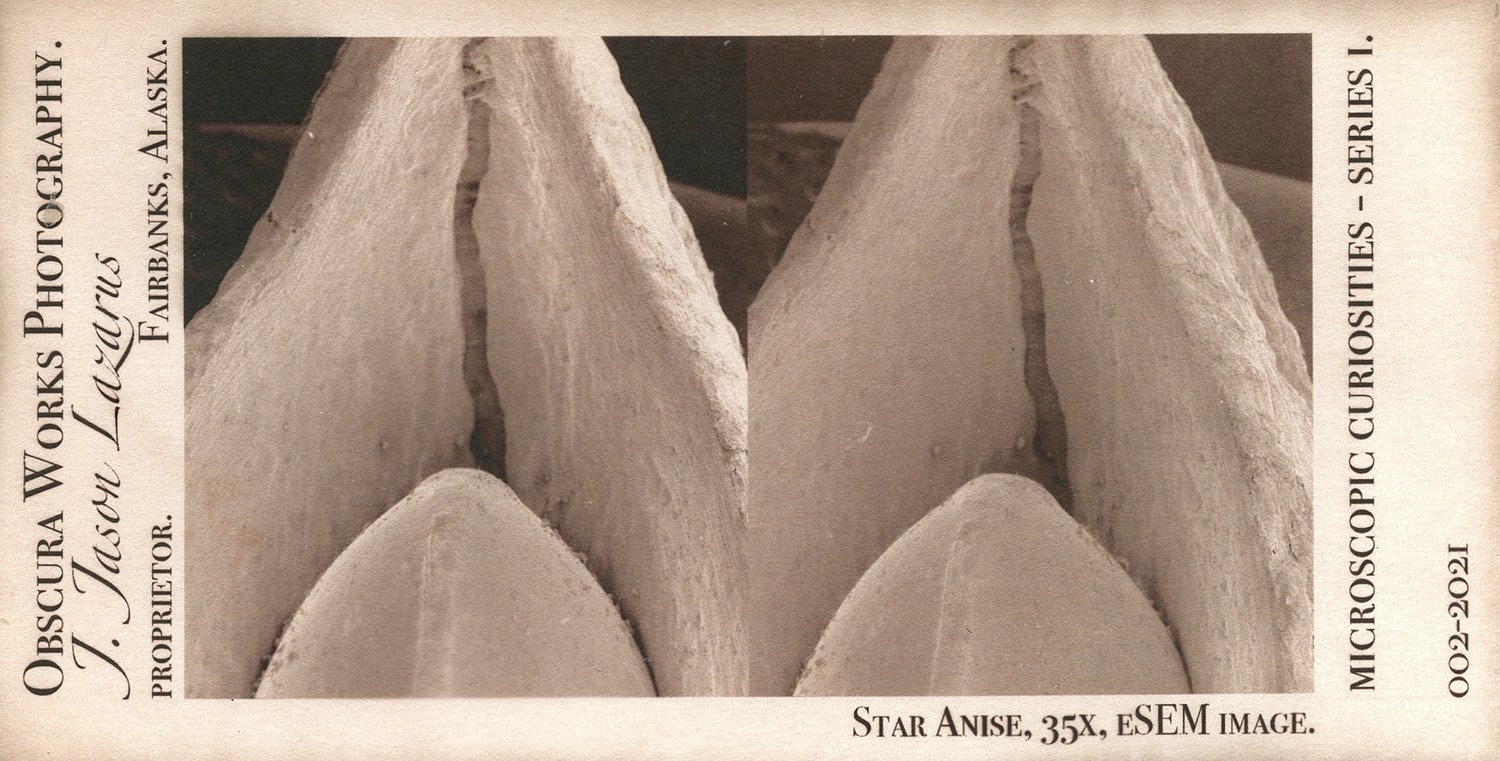
When I first registered for this eSEM course in 2017, I had the idea in my head that I’d make traditional stereographs, printed in the Albumen process, but I never got around to figuring it out. Unlike traditional stereoscopic photography where either the camera has two separate lenses or you have a specialized tripod mount that shifts the camera the appropriate distance for the second shot to approximate the distance between each eye, the SEM does not allow you to move the camera at all.
You can, however, move the stage that your samples sit on, yet only certain ways. It is very easy to rotate the stage any way you want, it’s also quite easy to move it back and forth, as well as left and right. You can, basically, shift the stage the way you would shift the camera, but tilting the stage is only possible on one plane, making these a little harder to conceptualize and compose. This meant I had to compose each image rotated 90 degrees more than it would be on the stereograph card, making it hard to consider what stage rotation and angle would result in a more pleasing image. Perhaps some of you can visualize manipulating your subject’s position by way of degrees of rotation and stage orientation, but I certainly struggled! That’s why I see these more as proof-of-concept rather than finished pieces.
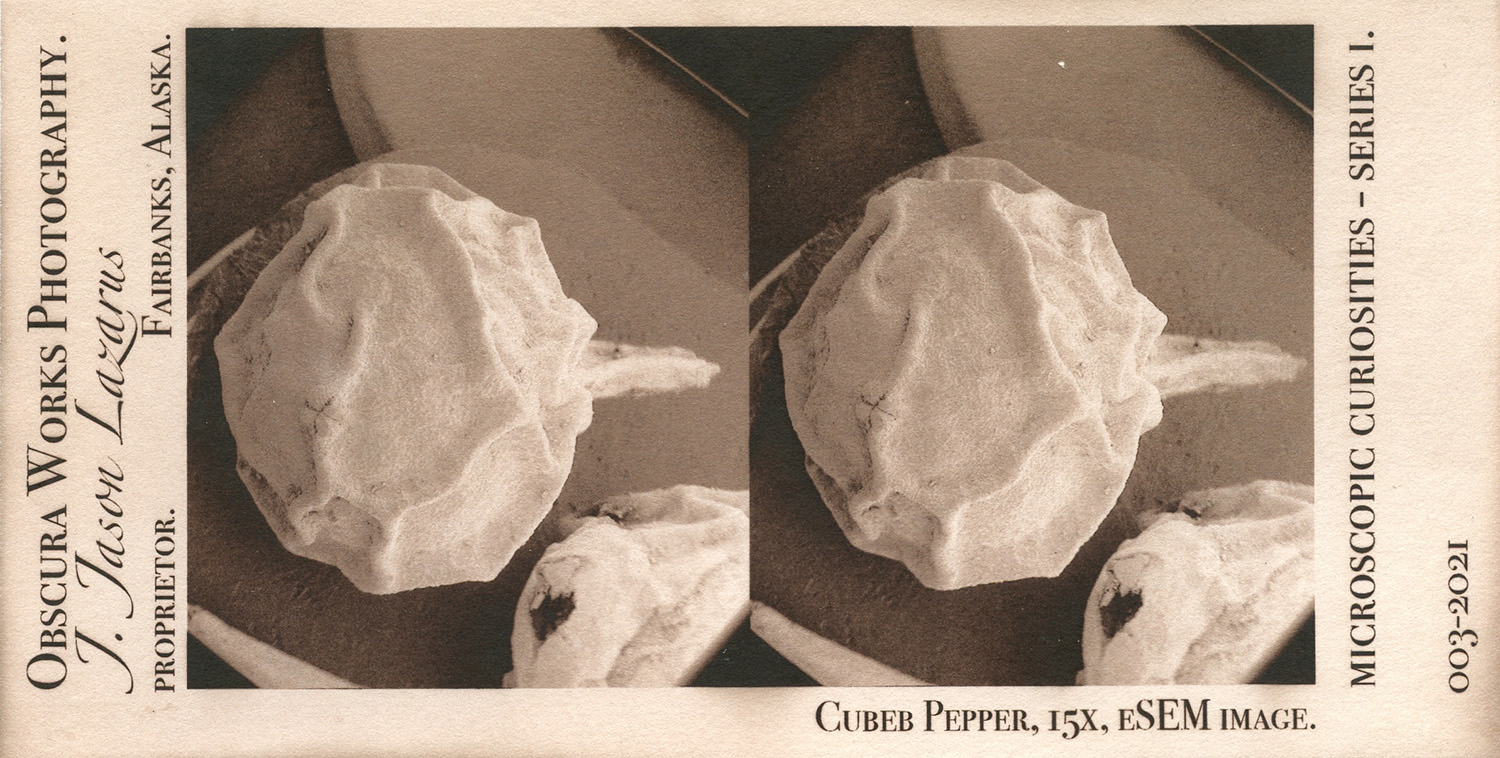
Compositions like the above Cubeb Pepper were made to accentuate the 3D effect but are far too cluttered due to other specimens showing up in the frame as well as the stage/stub itself showing. In future, I think I would place only one or two specimens per stub (small “stage” that is placed on top of the larger stage) so that I could isolate each sample. I might also create multiple coated specimens of the same spice positioned in various ways so that I have greater compositional control and opportunities once they get placed into the SEM.
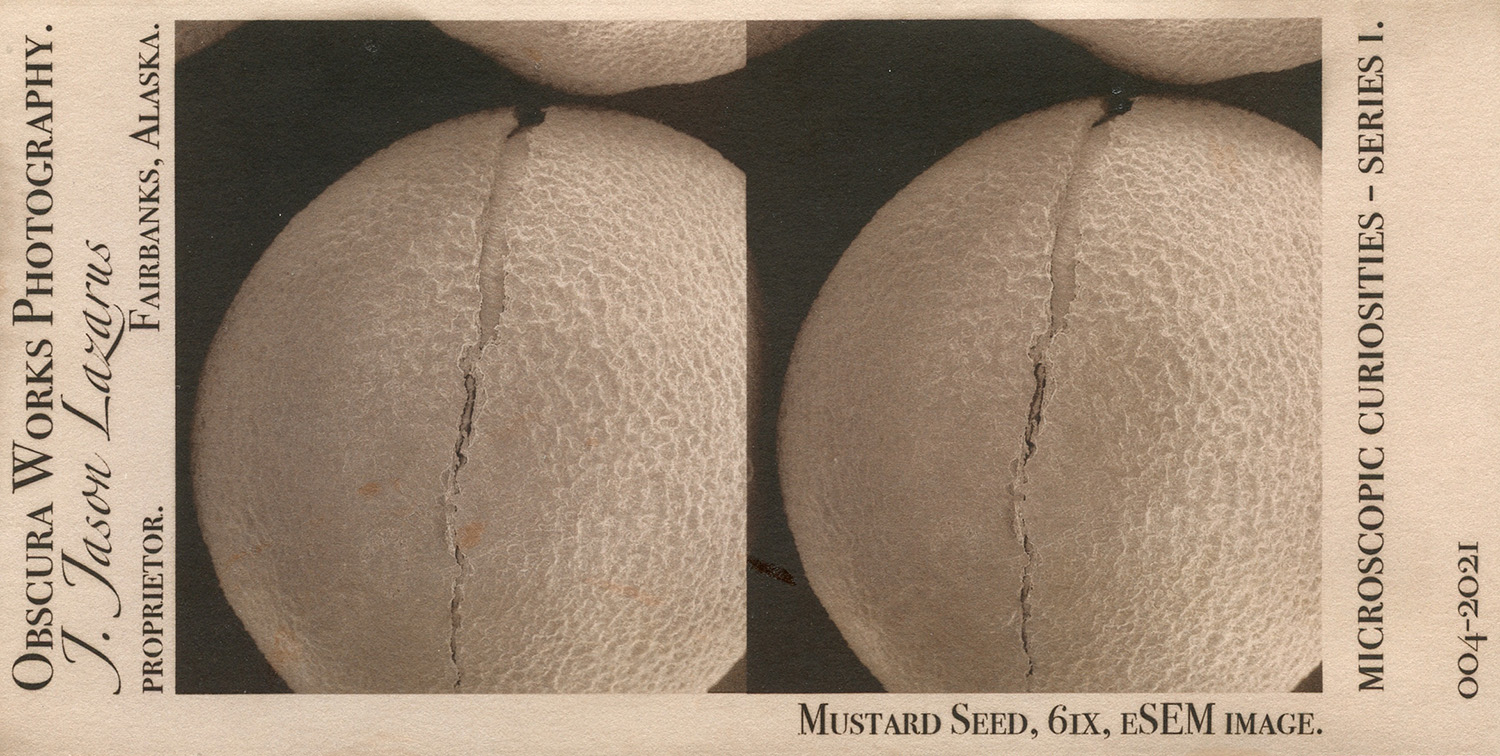
When it came to figuring out the right angles and method to take each shot, I have to thank not only my instructor, Ken Severin, but also Laurence Cuffe on Altphotlist@group.io for sending me down the right path. From their combined advice, I settled on a 4 degree shift between left eye and right and then re-centering between shots. I was shocked and overjoyed when these worked — so much so that I’ve been showing them to any student that comes into the darkroom or drops by my office. They work wonderfully!
I printed this round of images in Van Dyke Brown on Stonehenge as a test run. Right now, the entire card is a VDB print that has been affixed to mat board with Gel Medium – so even the words are printed in VDB. In future, I’m planning to not only print these in traditional Albumen, but to limit the “print” to just the SEM images, age/tone the card that I’m placing them on, and use Xylene transfer to add the words. I think they’ll look much more authentic that way.
I’ll be adding to this set over the summer — so this time around, it won’t be another four years until I have new content on this project!
I hope we will be learning Van Dyke Brown printing processes this fall in your Handmade Photographs class!
Yes we will! Right after we learn about cyanotypes!